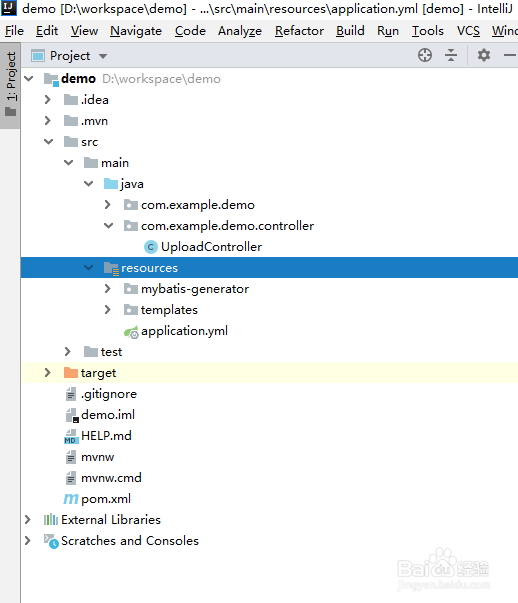
1、首先创建springboot项目,如图
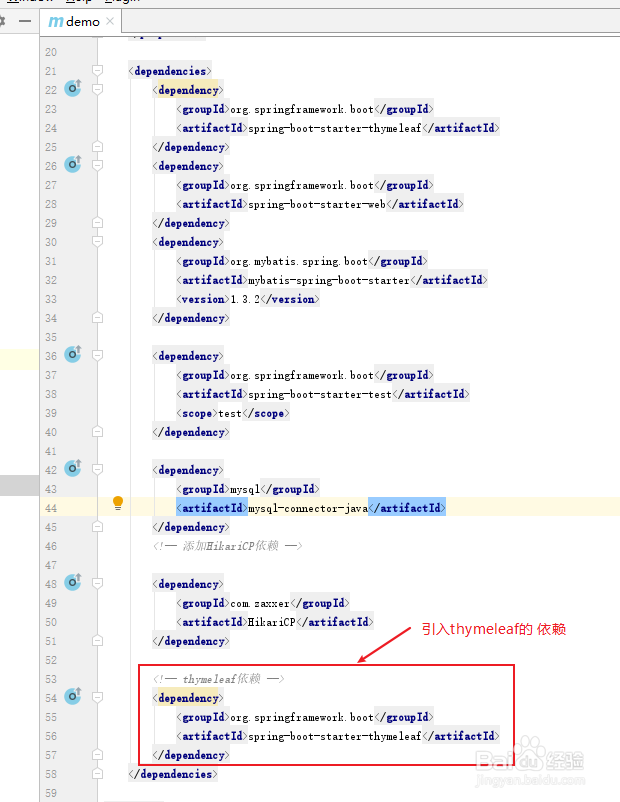
2、编辑pom.xml文件,导入依赖
<dependency>
<groupId>org.springframework.boot</groupId>
<artifactId>spring-boot-starter-thymeleaf</artifactId>
</dependency>
<dependency>
<groupId>org.springframework.boot</groupId>
<artifactId>spring-boot-starter-web</artifactId>
</dependency>
<dependency>
<groupId>org.mybatis.spring.boot</groupId>
<artifactId>mybatis-spring-boot-starter</artifactId>
<version>1.3.2</version>
</dependency>
<dependency>
<groupId>org.springframework.boot</groupId>
<artifactId>spring-boot-starter-test</artifactId>
<scope>test</scope>
</dependency>
<dependency>
<groupId>mysql</groupId>
<artifactId>mysql-connector-java</artifactId>
</dependency>
<!-- 添加HikariCP依赖 -->
<dependency>
<groupId>com.zaxxer</groupId>
<artifactId>HikariCP</artifactId>
</dependency>
<!-- thymeleaf依赖 -->
<dependency>
<groupId>org.springframework.boot</groupId>
<artifactId>spring-boot-starter-thymeleaf</artifactId>
</dependency>
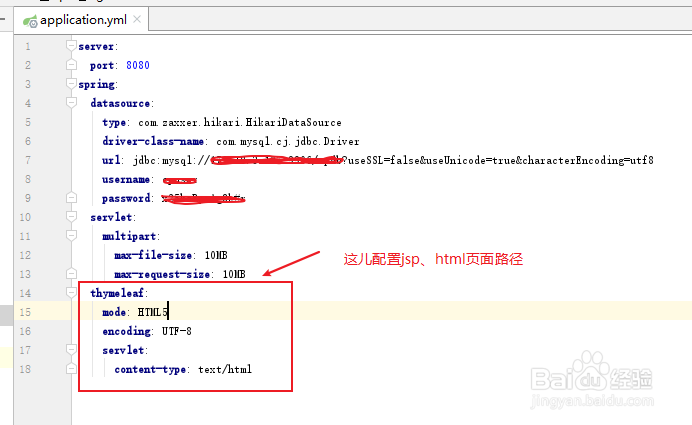
3、编辑application.yml文件,配置数据源以及jsp、html路径
server:
port: 8080
spring:
datasource:
type: com.zaxxer.hikari.HikariDataSource
driver-class-name: com.mysql.cj.jdbc.Driver
url: jdbc:mysql://127.0.0.1:3306/studentdb?useSSL=false&useUnicode=true&characterEncoding=utf8
username: root
password: 123456
servlet:
multipart:
max-file-size: 10MB
max-request-size: 10MB
thymeleaf:
mode: HTML5
encoding: UTF-8
servlet:
content-type: text/html
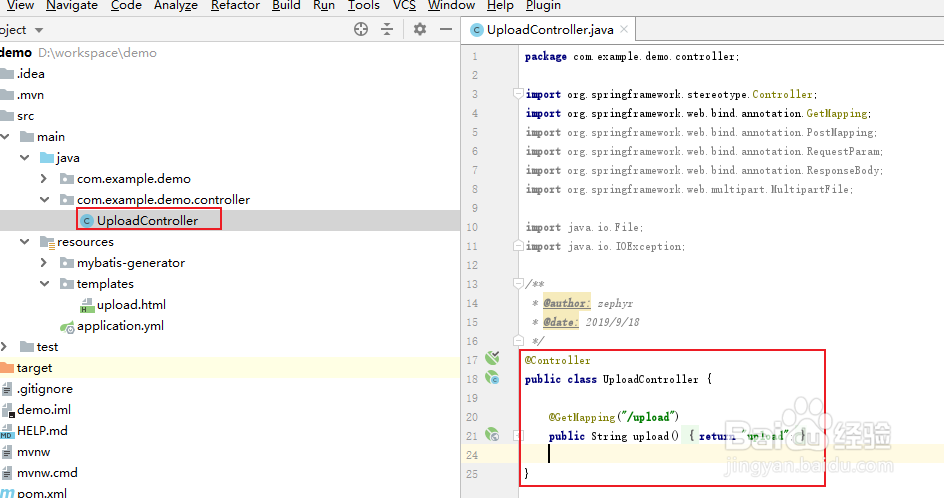
4、添加一个Controller,内容如下
@Controller
public class UploadController {
@GetMapping("/upload")
public String upload() {
return "upload";
}
}
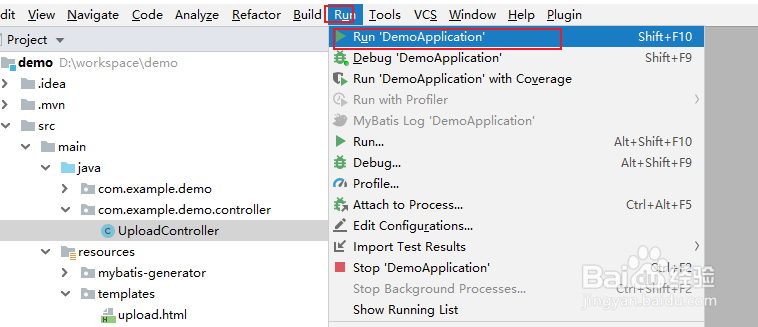
5、启动springboot项目
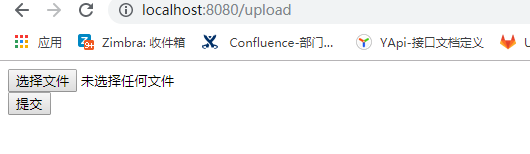
6、打开浏览器,访问http://localhost:8080/upload
这里就ok了,希望能帮助到读者们😄